We need to now implement the Express API so we can connect our Vue Store to the MongoDB database. We do this setting up Express with the CLI tool, creating the MongoDB database and making some config tweaks.
NB As stated before we are now entering the backend part of things of our shop.
Express Generator Setup
We assume you have Node and NPM up and running already as we have been using these tools. So we now move onto the installation of the Express Generator Command Line Interface. We do this with the following command:
npm install express-generator -g
This way it is installed globally. Next we move onto the actual setup of a template using this tool:
express --view=ejs api
You will then see:
   express --view=ejs api

   create : api
   create : api/package.json
   create : api/app.js
   create : api/public
   create : api/views
   create : api/views/index.ejs
   create : api/views/error.ejs
   create : api/routes
   create : api/routes/index.js
   create : api/routes/users.js
   create : api/bin
   create : api/bin/www
   create : api/public/javascripts
   create : api/public/images
   create :api/public/stylesheets
   create : api/public/stylesheets/style.css

   install dependencies:
     $ cd api && npm install

   run the app:
     $ DEBUG=api:* npm start
NB You can choose a different directory like backend or admin or something else. For the repo I am using backend for now
This you run in your working directory. In our case inside ~/webdesign/vue-basics/vue-shop.
Dependencies including Mongoose
To install the dependencies you will do a:
# Install dependencies
 npm install
as usual. You will also need to install Mongoose:
npm install --save mongoose
If you now would like to start the app you run:
# Start app
 npm start
App Central
Once you have done all the above you will find app.js. The app.js file is the Express API App Central where you have a nice overview of what has been setup and what is needed. It is the Express API Setup’s core so to speak. You will see:
 const express = require('express');
 const path = require('path');
 const favicon = require('serve-favicon');
 const logger = require('morgan');
 const cookieParser = require('cookie-parser');
 const bodyParser = require('body-parser');

 const index = require('./routes/index');
 const api = require('./routes/api/index');
 const users = require('./routes/users');

 const app = express();

// view engine setup
 app.set('views', path.join(__dirname, 'views'));
 app.set('view engine', 'ejs');

// uncomment after placing your favicon in /public
 //app.use(favicon(path.join(__dirname, 'public', 'favicon.ico')));
 app.use(logger('dev'));
 app.use(bodyParser.json());
 app.use(bodyParser.urlencoded({ extended: false }));
 // app.use(cookieParser());
 // app.use(express.static(path.join(__dirname, 'public')));
The rest of the code follows after a middleware remark and an NB.
Middleware Checks
Several middleware checks are done using app.use. One is:
app.use('api/v1', api);
which is the API entry point and it uses a middleware callback as well.
Middleware functions are functions that have access to the request object (req), the response object (res), and the next middleware function in the application’s request-response cycle. The next middleware function is commonly denoted by a variable named next.
We need this middleware check / api entry for storing and retrieving data. The callback here is the constant api which requires the api index with all the routes. A router is valid middleware.
NB You can read more on app.use at http://expressjs.com/en/4x/api.html#app.use .
app.use('/', index);
app.use('/users', users);
app.use('api/v1', api);

// catch 404 and forward to error handler
 app.use(function(req, res, next) {
 var err = new Error('Not Found');
 err.status = 404;
 next(err);
 });

// error handler
 app.use(function(err, req, res, next) {
 // set locals, only providing error in development
 res.locals.message = err.message;
 res.locals.error = req.app.get('env') === 'development' ? err : {};

// render the error page
 res.status(err.status || 500);
 res.render('error');
 });

module.exports = app;
And as you can see the middleware parser Body Parser and Logger Morgan are included. You can also see basic routes, error handling and what elements will be parsed:
- json
- urlencode
- cookie parser
MongoDB Database
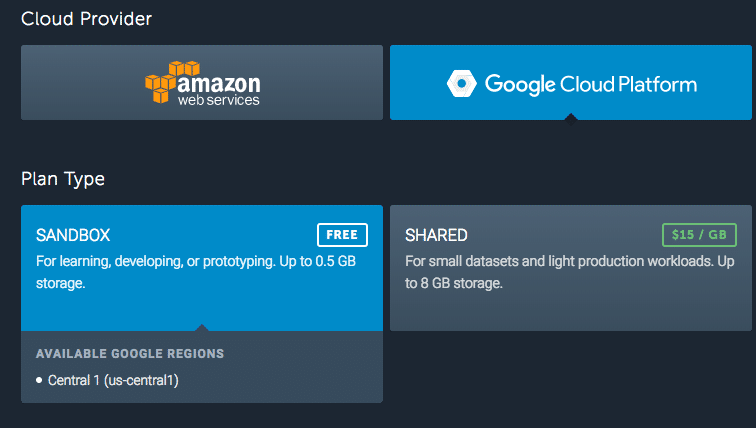
To set up a MongoDB database we go to mLab and create and account and a MongoDB database. You can create a free sandbox one with Amazon, Google Cloud Platform or Azure.
As Azure and Amazon were doing maintenance we had to wait for a status update and could not remove the database either.
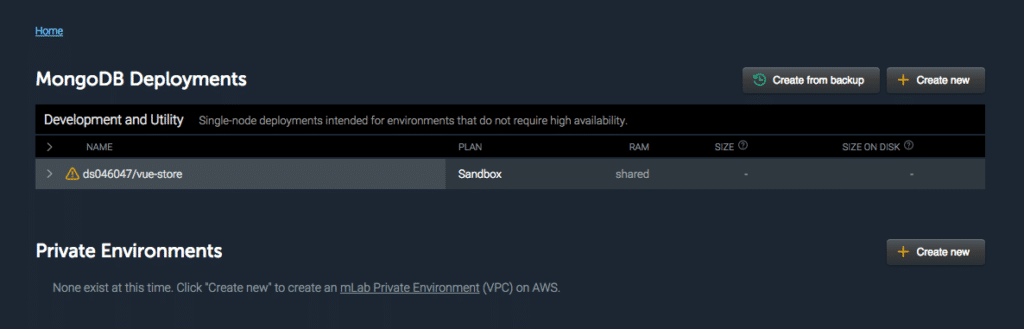
There we made a new database using the Google Cloud Platform:
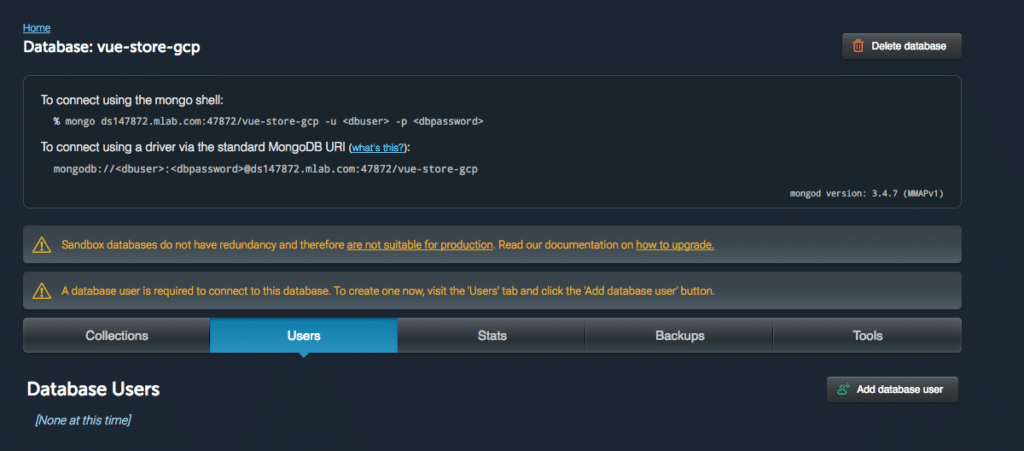
It stated we can connect to the database using:
#mongo shell:
 mongo ds147872.mlab.com:47872/vue-store-gcp -u  -p
#To connect using a driver via the standard MongoDB URI:
mongodb://:@ds147872.mlab.com:47872/vue-store-gcp
We only needed to create a database user and password which we did as well using the mLab interface.
Database Credentials Configuration
Next we need to add the database details in app.js. When we ran
express --view=ejs express-api
it did not create a line mentioning add database details here as Chris mentioned in his tutorial. Nor was Mongoose imported using a const or import. so we added the import
const mongoose = require('mongoose');
and the line to register the database:
mongoose.connect(`mongodb://${process.env.DB_USER}:${process.env.DB_PASSWORD}@${process.env.DB_URL}`);
That way – using .env – we are making things more secure.
Localhost MongoDB
You can also set up MongoDB on your localhost. You can install it using
brew install mongodb
The issue I had was connecting. I was able to add my own users for the database created and for admin as well as system, but in the end I could only connect to to the database using NO credentials at all:
mongoose.connect('mongodb://127.0.0.1:27017/store', { useNewUrlParser: true })
Robo 3T
As a GUI I am using Robo 3T by the way. It is for free and the lite version they offer.
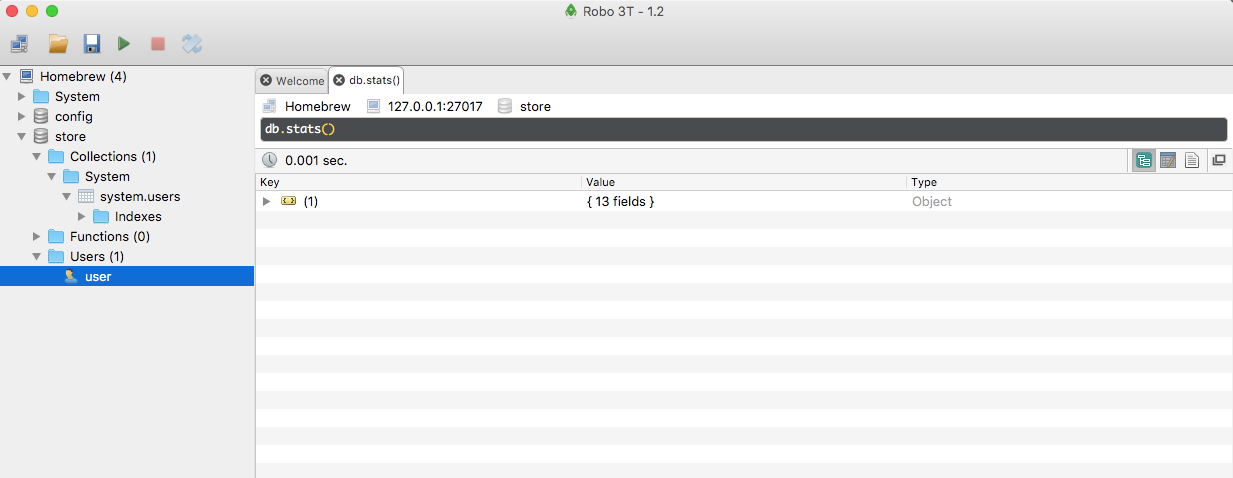
Only still need to figure out how to make the database demand authentication and then use the user I added.
CORS
To deal with Cross Origin Request Sharing issues as we tend to have with AJAX call we have a Node solution for this using:
app.all('/*', function(req, res, next) {
  // CORS headers
  res.header("Access-Control-Allow-Origin", "*"); // restrict it to the required domain
  res.header('Access-Control-Allow-Methods', 'GET,PUT,POST,DELETE,OPTIONS');
  // Set custom headers for CORS
  res.header('Access-Control-Allow-Headers', 'Content-type,Accept,X-Access-Token,X-Key');
  if (req.method == 'OPTIONS') {
    res.status(200).end();
  } else {
    next();
  }
});


Hello, your tutorial is great and much more understandable then on scotch.io. But as I see you didn’t finish it, and the stop is at the most interesting point. Do you have plans to go on with it?
Thanks for the positive feedback Kate. I do have plans to wrap this up some time soon . Just busy doing an Unsplash integration in Laravel at the moment. As soon as that is done I will add another chapter . Glad you liked it so far!
Great! I will follow the news