To set up your site with WooCommerce and for it to look well you need a theme that is built with WooCommerce in mind. WooCommerce works with a specific set of templates to turn WordPress into an ecommerce site and these templates should be styled in the style of your theme.
Storefront
In this tutorial we shall install WooCommerce’s Storefront. It is a great WordPress theme that is free and created by the people running WooCommerce. And therefore this theme will work with the WooCommerce plugin out of the box and work of the bat. Follow the earlier mentioned link, download it and then go to appearance > themes . There you need to click on the button add new:

Uploading WooCommerce Storefront
Next step it to click on upload theme and upload the zipped file

Uploading of zipped theme file:

And then do not forget to activate the theme:

WooCommerce Storefront Options
It will then offer you the option to follow a guide to get started with Storefront which can be useful. It will show you a screen with news on Storefront, options to enhance the theme with (paid) extensions such as:
- menus,
- product hero
- Designer
- Reviews
- Blog customizer
- WooCommerce Customizer

Storefront Welcome Screen here below is where they will indicate whether or not WooCommerce has to be installed, how you can enhance Storefront:

This as well as what (paid) child themes are available for Storefront like Outlet for $39:

Dummy Content
You can add dummy content to it if you start out from scratch. This will give you the demo look and a start to begin building your site with. Dummy content in my opinion is very useful to start out with. But if you prefer not to you skip this section. Click on link to dummy content and you will see this Github repo file you can then check as raw content and then save that to a file with the same or another same with the extension .xml. This you can then import.

To import the dummy xml content you save the xml file and upload it using the WordPress Importer under Tools > Import.

When you pick WordPress to import WordPress data

you may have to install the WordPress importer plugin and once that is done you can import the dummy data. Choose the xml file from your PC and upload it.

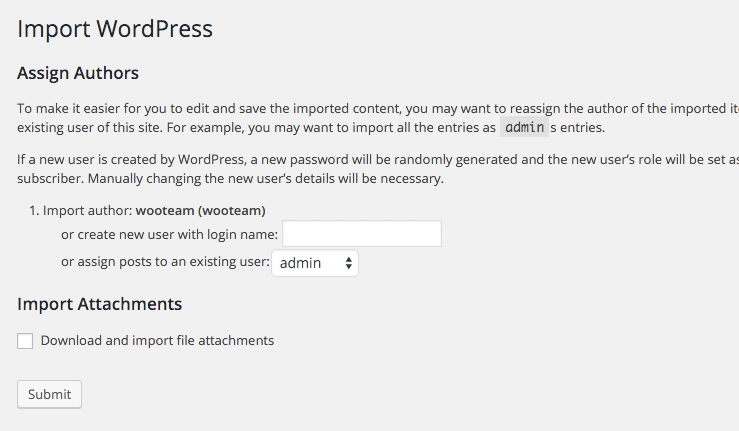
You can then choose to attach all data to an existing user or the user it was created with. It is called assigning authors. And you can also decide whether or not to import the file attachments. As the latter often does not work you could skip and and just deal with the content instead.
You will probably get warning that there are errors or that importing of this or that failed – a new importer has been in the works for some time – but most if not all dummy data should get imported anyways. Here a screenshots of dummy products:

Pretty useful to see what type of products can be added and to see what configurations are possible. You will however have to delete or adjust all imported content at a later stage.
Besides general dummy data you can also import dummy tax rates, product variations and general products. See overview at Github of all dummy data files here.
Well that is it for this post. The next one in this series will be one configuring WooCommerce in general!